Quickstart guide
Use this guide to create a simple recipe using our integrations template.
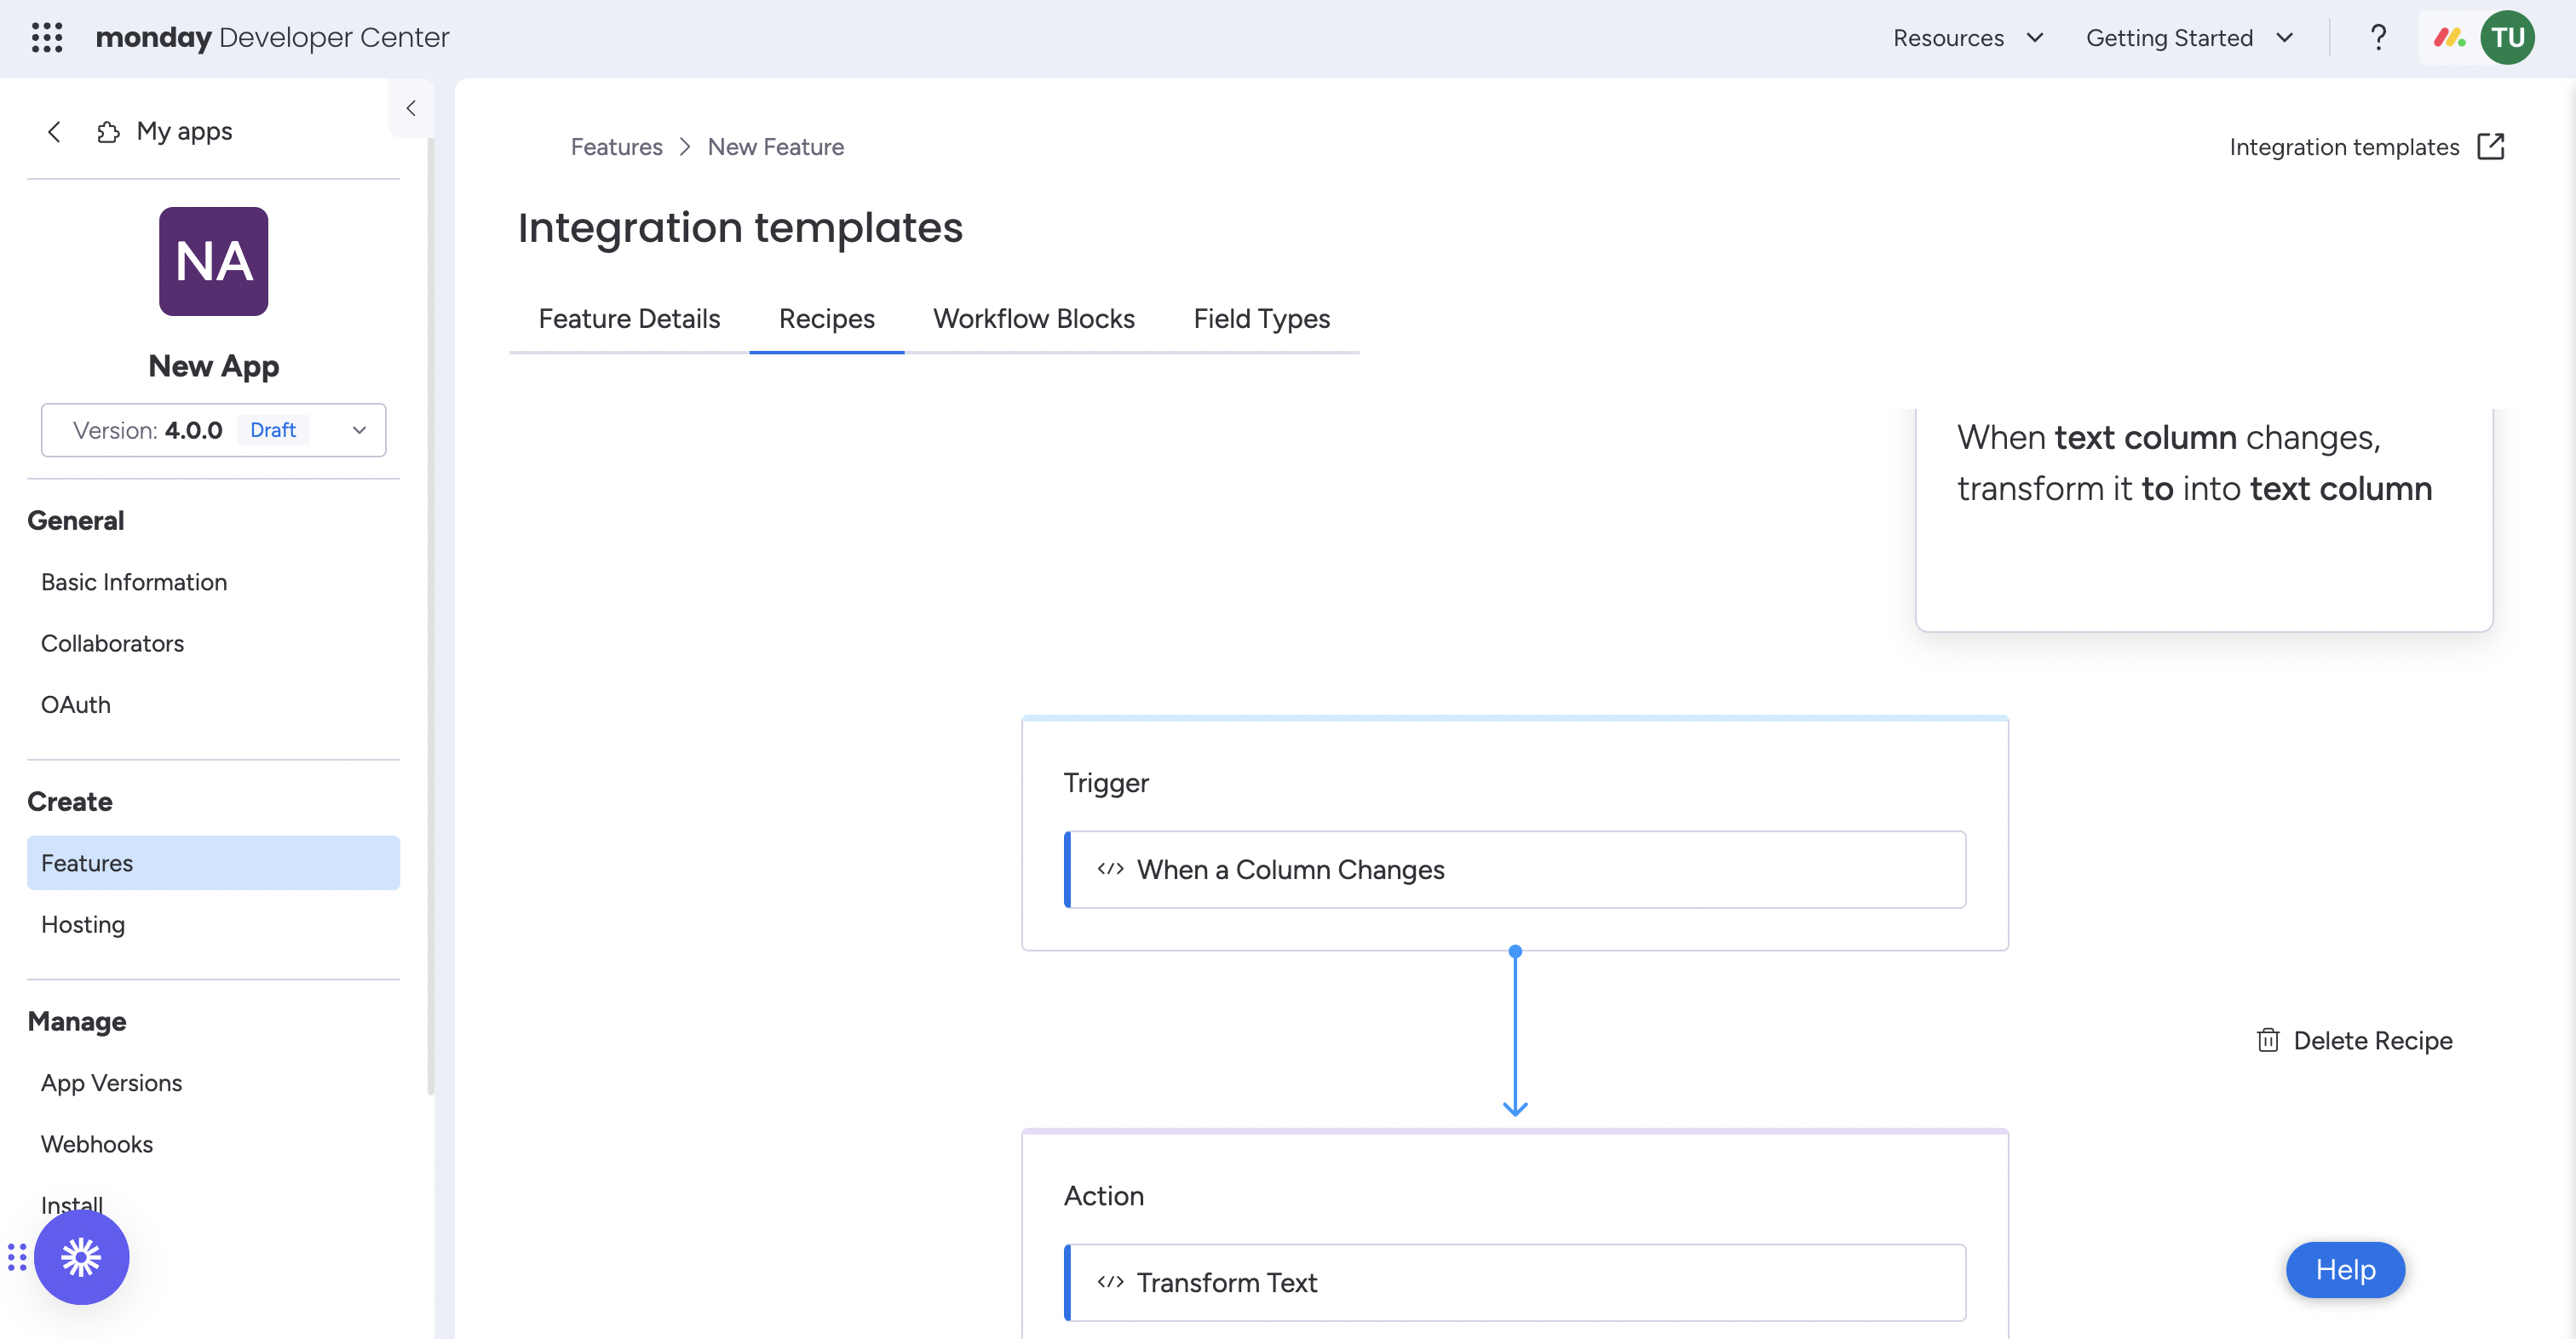
In this quickstart guide, we'll build a simple integration that automatically transforms text between two text columns on a board between lowercase and uppercase. The app will do the following things:
- Use a monday trigger to notify your app when column data has changed
- Use a custom action to write the transformed text to a column value
In the end, it will look similar to this:

Pro tip
You can view the GitHub repository for this custom integration here!
Intro to integration recipes
All integrations in monday.com have one or more associated recipes comprised of a trigger and an action. A trigger is an event that happens in monday.com or another service, and the action is the result of this trigger. These are both found in the recipe sentence that ties them together.
You can use built-in triggers and actions or create custom ones using our workflow blocks. This gives you the flexibility to create any workflow you could imagine.
Some sample recipes you can build with integrations include:
- When a lead is created in salesforce > create an item in monday
- When status changes to something > send email to user
- Each time period > create and share report from a board
Building your first integration recipe from a template
We can start building now that you know a bit about monday.com integrations! If you don't have a monday.com account, start by signing up for a free developer account here.
Adding an integration template app feature
-
Click on your profile picture in the top right corner.
-
Select Developers.
-
Choose the app you'd like to create your blocks in or create a new one.
-
Navigate to the Features section of your app.
-
Click Create feature.
-
Select the Integration templates app feature and press Next.
-
Choose Quickstart Integration - NodeJS template.
-
Click Add the missing scopes and press Next.
-
Run the command scaffold in your command line, and paste the resulting URL into the box.
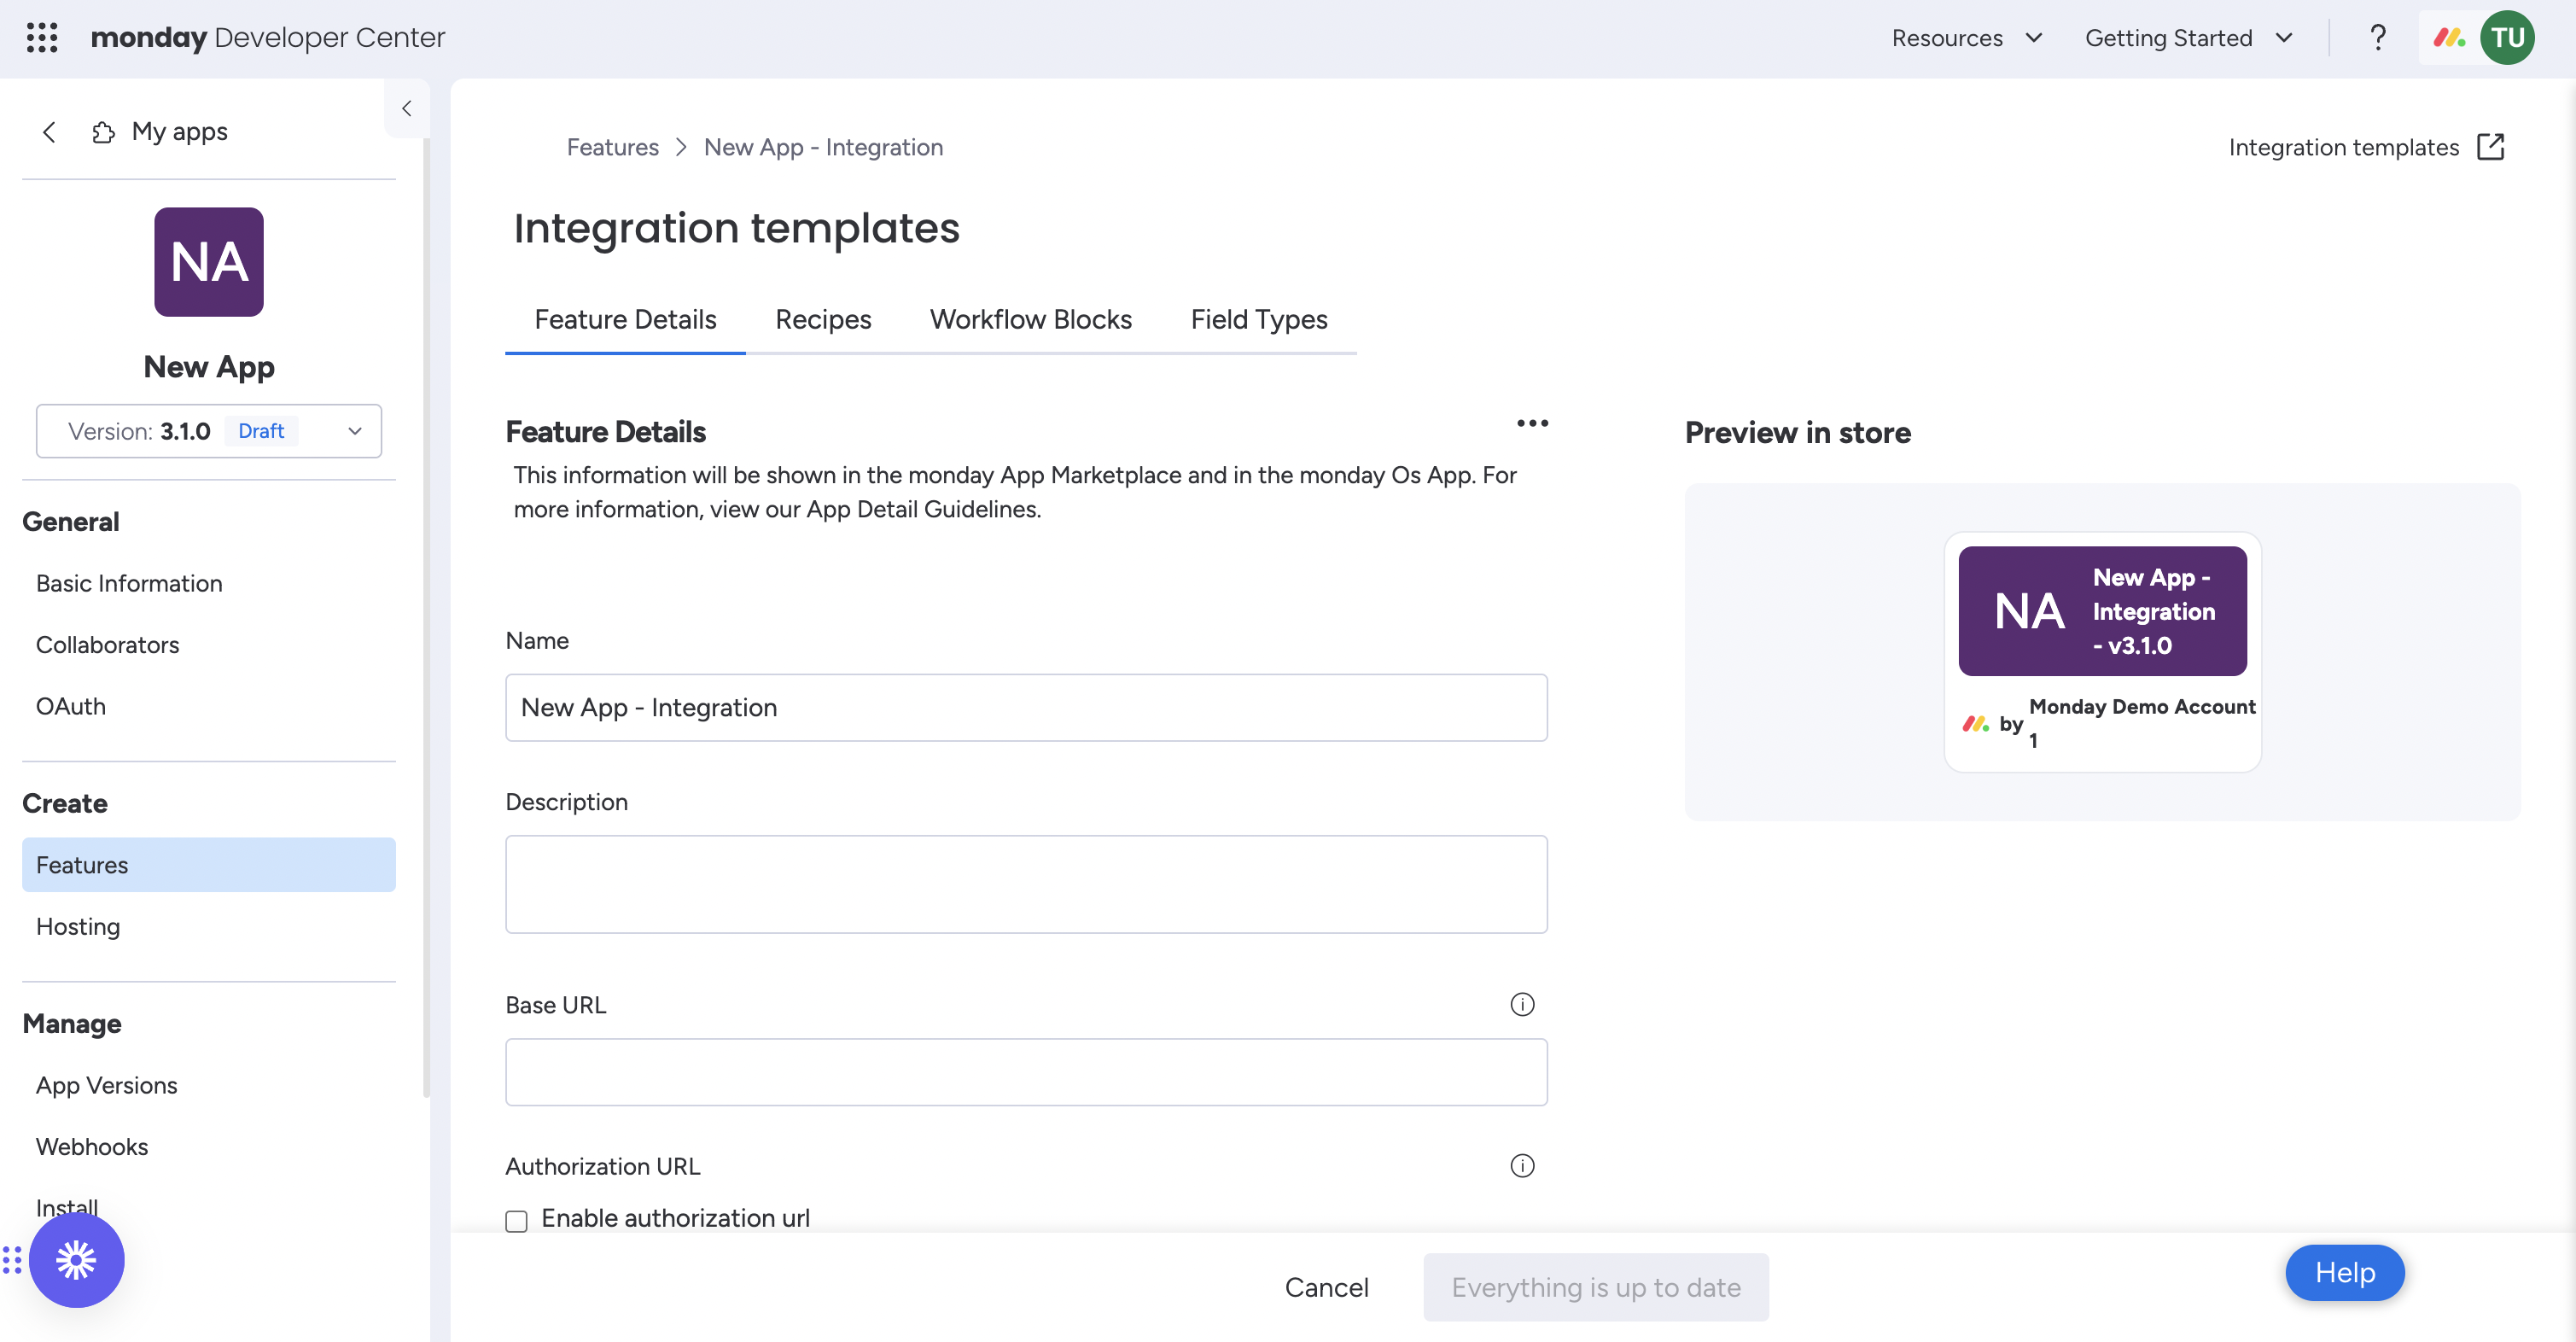
Updating your integration's basic information
- Open the Feature Details tab.
- Here, you can update your app feature's name, description, and base URL. Please remember that the user will see the title and description when they see your recipe in the Integrations Center. You can also select whether or not you want to enable oAuth authorization.
- Click Save to save your updates.
- After this step, you should be able to load up the app for the first time using your local tunnel!
Configuring your recipe
Our feature templates provide the integration recipe for you, so it is ready to go. This integration utilizes a custom action that calls our API to update a second text column. If you want to see the code behind this recipe, navigate to the quickstart-integrations folder downloaded onto your computer after running the command line prompt we previously covered.
Using the custom integration recipe
You're done! Head to any of your boards to add the integration recipe by searching for the app feature name in the Automations Center. Follow the integration recipe prompts as usual (i.e., selecting which text columns you want) and watch the magic unfold!
Join our developer community!
We've created a community specifically for our devs where you can search through previous topics to find solutions, ask new questions, hear about new features and updates, and learn tips and tricks from other devs. Come join in on the fun! 😎
Updated 4 months ago