
Make your MCP integration publicly available
Let monday.com customers connect your MCP client with OAuth 2.0 dynamic client registration. Admins approve additional connections and redirect URIs.
A personal API token or an OAuth app is enough for personal use, internal tools, and testing. To let other monday.com accounts connect your MCP client — as a product feature, a custom integration, or a partner integration — authenticate through dynamic client registration (DCR).
Any developer can use this path. Customers add your connection through dynamic connectors: their account admin approves the connection and its redirect URIs before the connection is created.
The hosted MCP permission enables a separate set of pre-approved third-party agents, including Claude, ChatGPT, and the other compatible MCP clients. Those agents use the standard authorization screen.
Building only for yourself or your organization? Use an API token or your own OAuth app. Those paths do not use dynamic connector approval.
Step 1: Authenticate with dynamic client registration (DCR)
Publicly available MCP clients don't use a pre-created monday.com app. Instead, they authenticate through OAuth 2.0 Dynamic Client Registration, as defined by the MCP authorization specification: the client registers itself with the MCP server's registration endpoint, then runs the standard authorization code + PKCE flow.
The server publishes its OAuth metadata through standard discovery documents, so MCP-compliant clients handle registration and authorization automatically:
| Endpoint | URL |
|---|---|
| Protected resource metadata | https://mcp.monday.com/.well-known/oauth-protected-resource |
| Authorization server metadata | https://mcp.monday.com/.well-known/oauth-authorization-server |
| Client registration | https://mcp.monday.com/register |
| Authorization | https://mcp.monday.com/authorize |
| Token | https://mcp.monday.com/token |
If you're building on an MCP SDK or framework that follows the MCP authorization specification, no additional OAuth setup is required — point your client at https://mcp.monday.com/mcp and the discovery, registration, and authorization flow happens automatically.
Step 2: User authorization (OAuth consent)
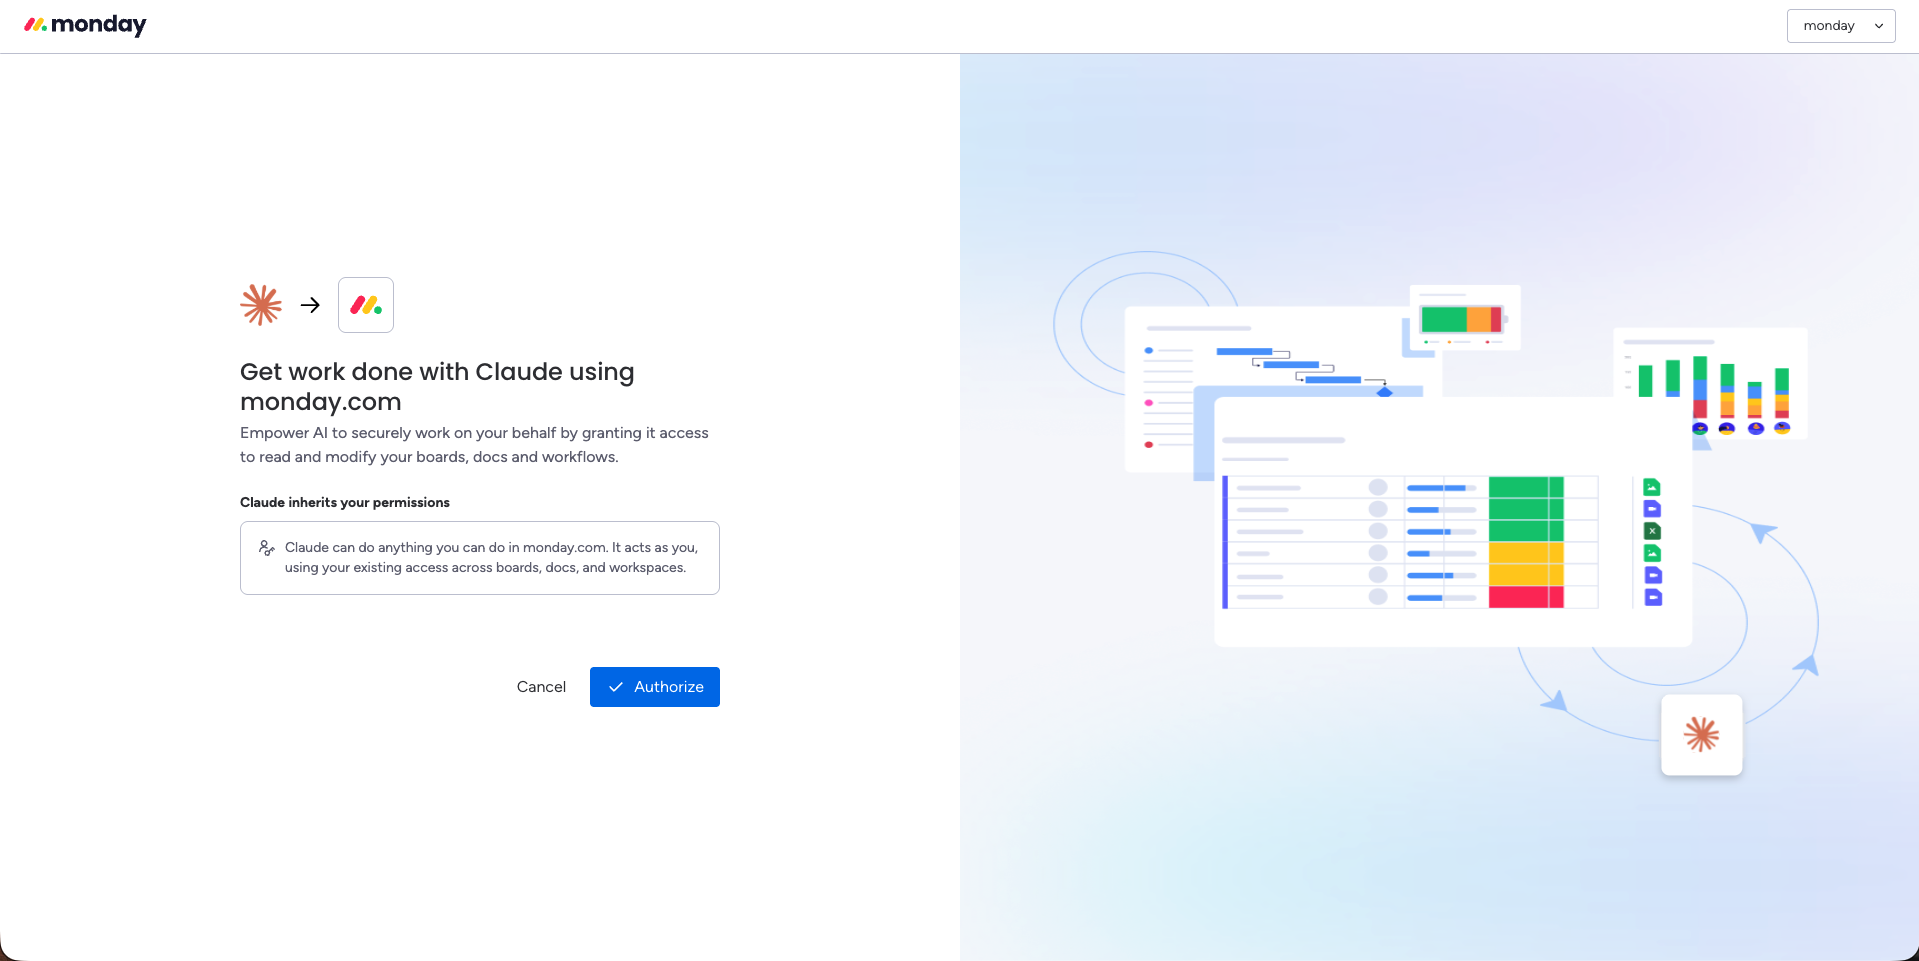
When a user connects your MCP client to monday.com, your client opens the monday.com OAuth authorization screen.
For an additional connection, the screen shows Admin approval required instead of completing the connection. The user requests approval, and an account admin approves the connector and its redirect URIs for that account. Nothing is connected while the request is pending. After approval, the user starts the connection again and selects Authorize. Follow Dynamic connectors for the approval steps, admin review, and early-access limitations.
When the user is connecting a pre-approved third-party agent, or an admin has already approved the connector, the user reviews the connection and clicks Authorize to grant access.
The consent screen shows your client name, a short description of the connection, and that the client inherits the user's existing monday.com permissions.
After the user authorizes:
- monday.com redirects back to your client with an authorization code
- Your client exchanges the code for an access token (and refresh token, if issued) via the token endpoint
- Your client includes the access token in the
Authorizationheader of subsequent MCP requests:
Authorization: Bearer YOUR_ACCESS_TOKENAll MCP tool calls then run as that user, scoped to their monday.com permissions and any MCP access limits set by the account admin — for example, restricting MCP to specific workspaces only.
Related resources:
Updated 5 days ago