App Versioning
Learn more about managing your app versions, supporting past versions, and our built-in versioning capabilities
App versioning lets you safely add, change, test, or remove functionality in your app without disrupting existing users. You can manage app versions through the Developer Center, enabling seamless transitions between versions and ensuring stability for your users.
Versioning follows a clear lifecycle: draft > live > deprecated. A version starts in draft, where you can make changes and test it. Once it's ready, you can either gradually release it or promote it directly to live, making it visible to all users. When a new live (production) version is released, the old version becomes deprecated, remaining accessible to users but no longer receiving updates.
Version statuses
All app changes (e.g., including permissions, features, and bug fixes) are handled through app versions. monday.com apps don’t use major/minor versioning; instead, each version represents a complete snapshot of your app.
Each version is of a particular status, which enables you to draft, test, publish, and remove versions.
| Version Status | Description | Limit |
|---|---|---|
Draft | Draft versions allow you to make changes to your app, inheriting all configurations from the live version (e.g., scopes, OAuth, features, and app name). However, no live features are affected until promoted. | |
Live | A draft version can be promoted to live once it’s ready for production. Live versions are stable, visible to all app users, and should be treated as production-ready. | One at a time |
Deprecated | After replacing a live version, the original version becomes deprecated. App developers should continue supporting deprecated versions. | |
Gradual release | Gradual releases allow you to release a new app version to a select group of accounts or regions before going fully live, enabling you to test features with smaller audiences (read more here). A version in gradual release is not considered fully live until it’s released to all users. | One at a time |
Active | An active version allows an app collaborator to test a specific app version inside monday.com. The active version is visible only to the collaborator who designated it as active and does not affect other collaborators or end users. |
|
What you can do with app versions
Test an app feature with an active version
You can safely test app changes by designating an app version as the active version. Active versions provide a personal testing flow for app collaborators, enabling you to validate new functionality before releasing it to users.
When you set a version as active, that version runs only for you as the app collaborator who selected it. Other collaborators continue to see their own active version, and end users are never affected. This makes it possible to test changes in isolation or compare behavior with the production version without impacting anyone else.
By default, the most recently created version is set as the active version. However, you can manually select any live or draft version as the active version for personal testing.
Active version testing is currently supported for most app features, except for:
- Workspace templates
- Integration for sentence builder
Create an app feature
Using app versioning, you can always add new app features without disrupting existing app users. Once you've created a new draft app version, follow these steps to add a new app feature!
Remove an app feature
When you create a new version, you can either deprecate (recommended) or delete an app feature.
Deprecating a feature allows you to set a deprecation date to alert users of its removal while keeping the feature functional until you manually remove it. You can select a deprecation date that will be communicated to users through in-app banners, alerting them to the deprecation. The date is used solely for communication purposes, so you must manually remove the app feature on the deprecation date.
Deleting a feature removes it immediately once the version is promoted to live and is not recommended for most cases.
For step-by-step instructions, see Managing App Versions below.
Update permissions or scopes
You can update your app’s permissions or scopes at any time by creating a new version. Once live, the new version is automatically pushed to users; however, changes to scopes or permissions require manual approval from users.
Users are notified via an in-app banner highlighting the updated scopes or permissions. They can continue to access the app without approving the updates; however, some features may not work as expected until approval is granted.
Your app must handle failed requests when required permissions haven't been approved.
For view apps, you can check which permissions a user has approved via the permissions property of your app’s context. If the user is a collaborator on the app, all required scopes will appear as approved — even if the user hasn’t explicitly granted them. This behavior is specific to collaborators and does not reflect general user approval status.
permissions:{
  approvedScopes:[“board:read”],
  requiredScopes:[“board:read”,”board:write”]
}
How to manage app versions
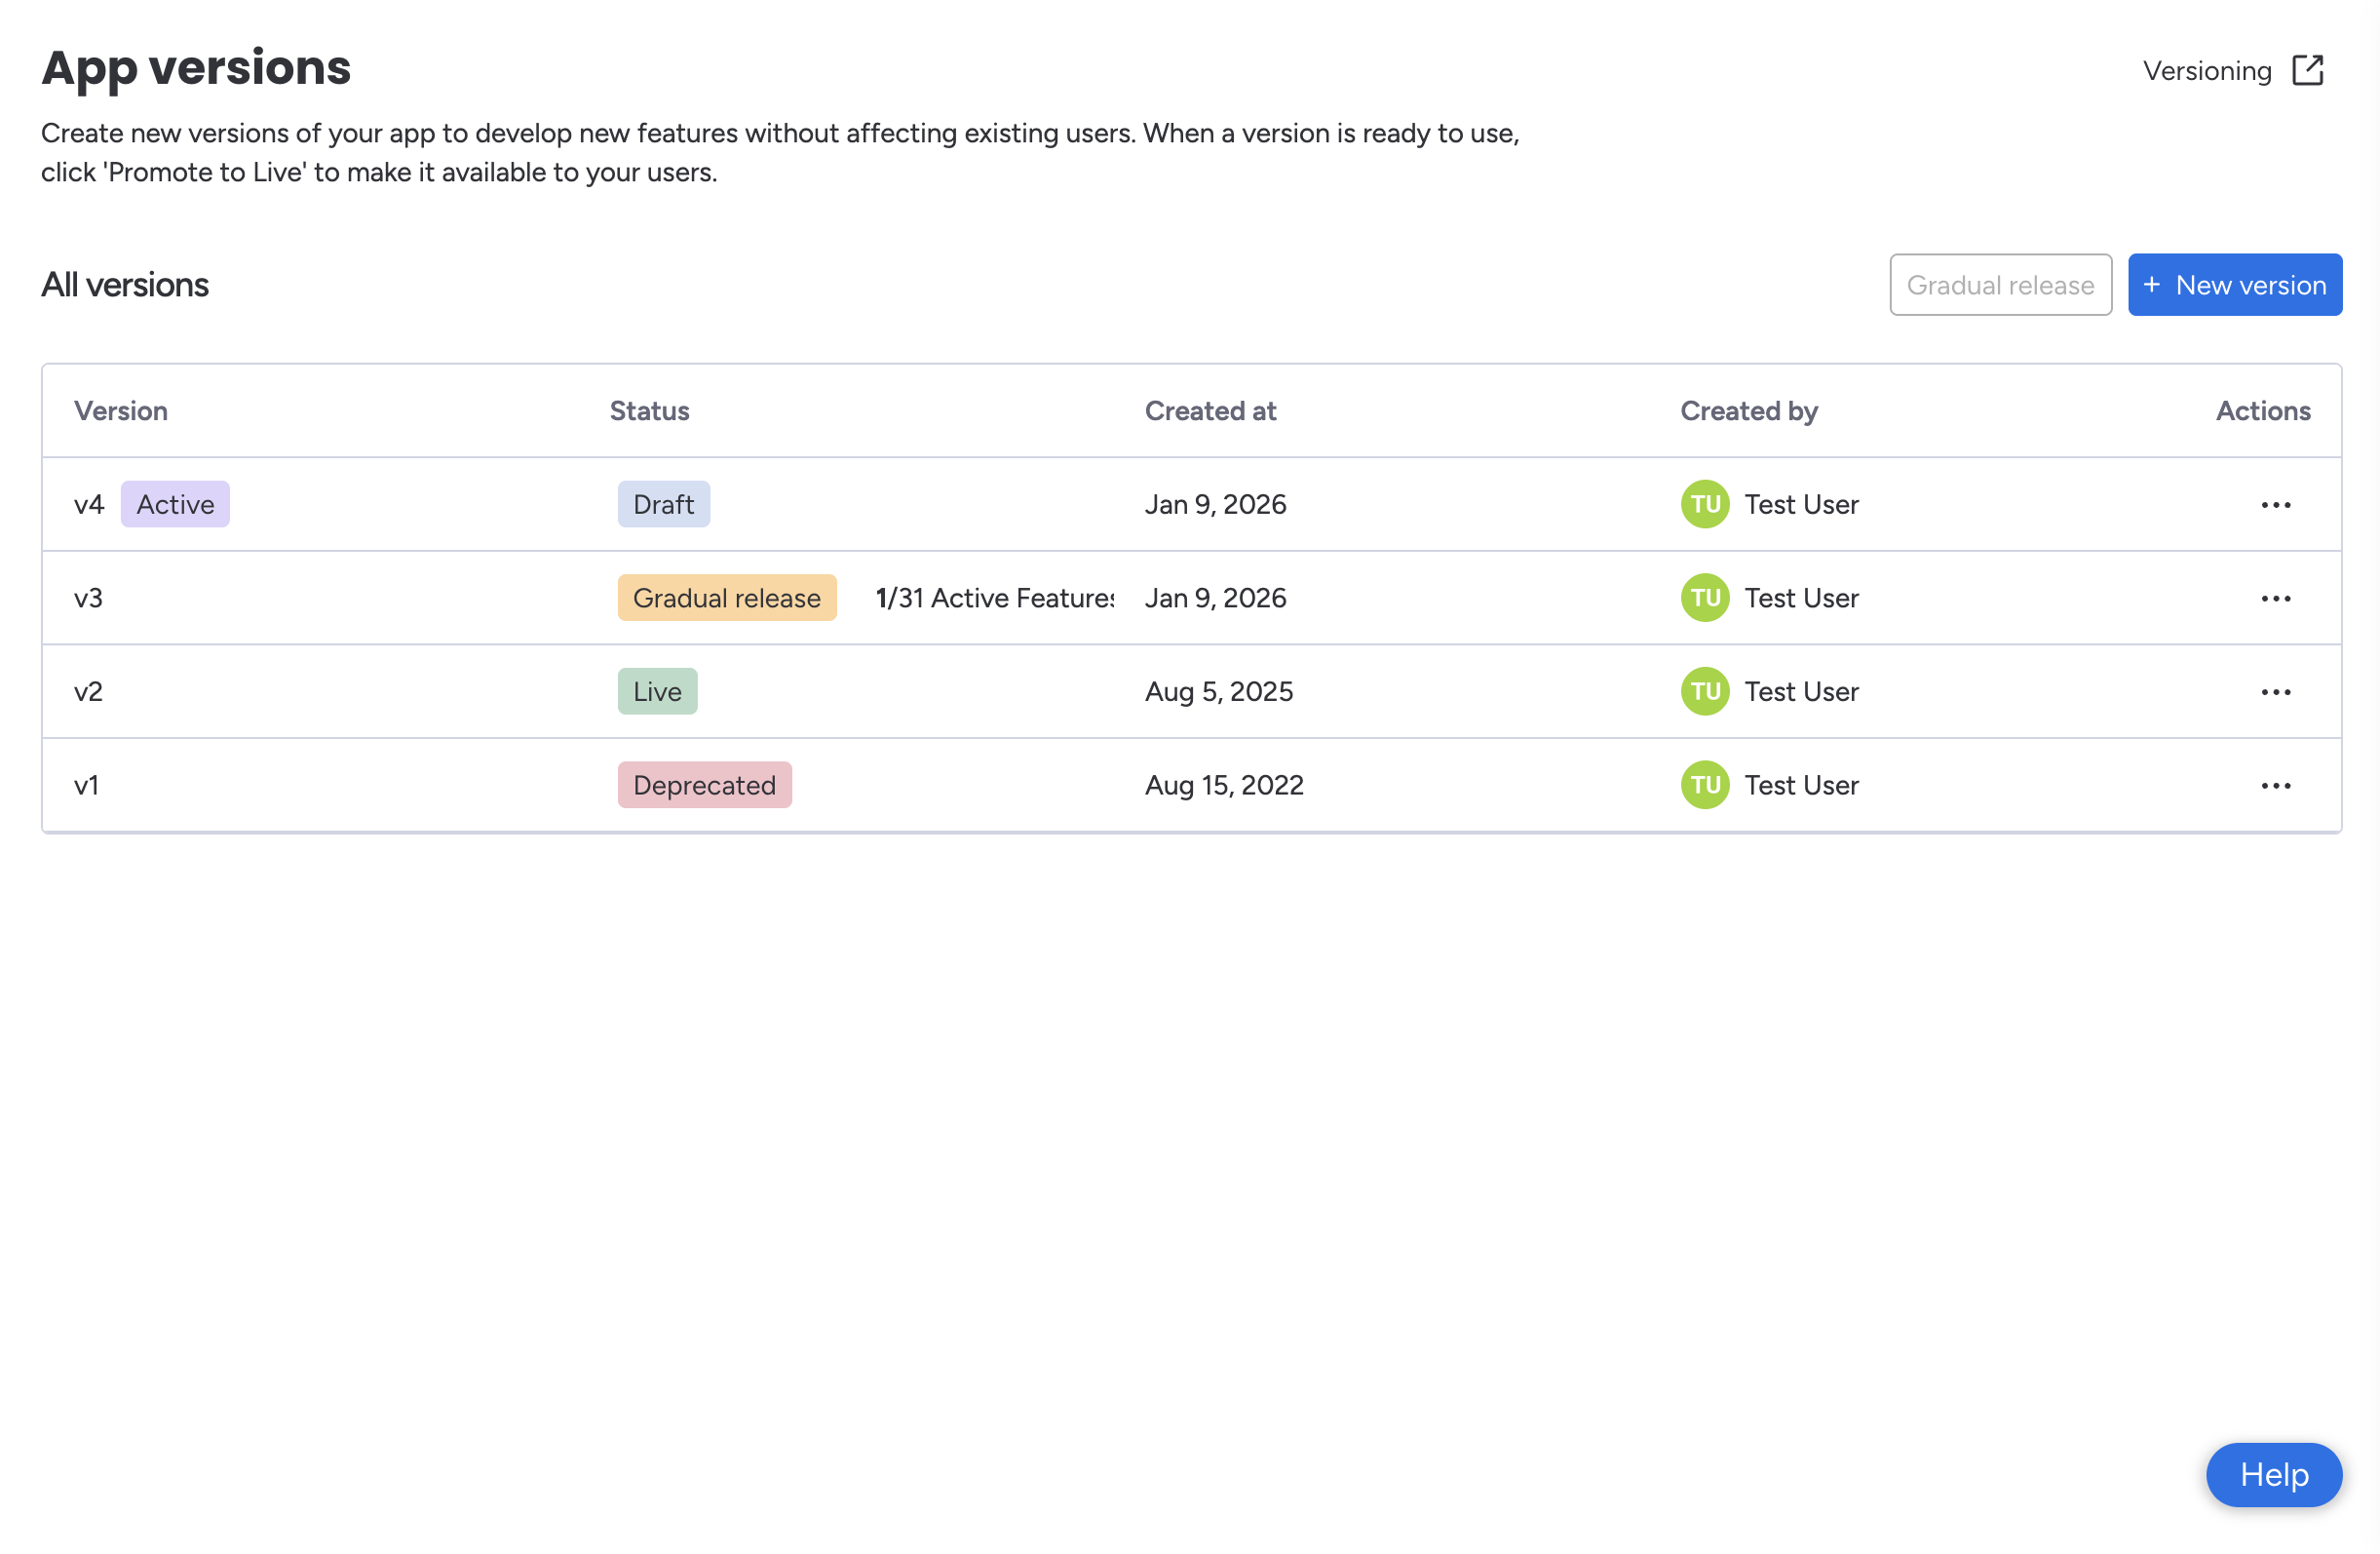
In your app's App Versions tab, you can create a new version, promote a draft version to live, or delete a draft version. Note that you must enable Developer Mode to see app versions and add them to your account.
Create a new version
You can create a new version from two different places:
- Under Manage in the left-side menu, open the App Versions tab and click New version.
- Click the New version button under your app's name (appears only if you don't already have a draft version).
The version number automatically increments based on your app’s highest version number, whether live or draft. For example, if your app's live version is v1, but the highest version in your drafts is v3, the new version number will be v4.
Promote a draft version to live
You can also promote a draft version to live from two different locations:
- Open the App Versions tab > select the three dots in the Actions column > click Publish.
- Click the Promote to live button under your app's name. This button only appears if you have a draft version.
Some changes, such as updated scopes or permissions, may require user approval after promotion.
Gradually release a version
You can gradually release new features to your users by following these steps:
- Under Manage in the left-side menu, open the App Versions tab.
- Click Gradual Release.
- Select a version for gradual release.
- Click Select.
- Specify which features, accounts, and regions to release the version to.
- Click Release in the top-right corner.
Manually designate an active version
- In the left-side menu, open the App Versions tab under Manage.
- Locate the version you want to test and click the three dots in the Actions column.
- Select Set as active for me.
Deprecate an app feature (recommended)
- Open your app in the Developer Center.
- Navigate to the Manage tab and click App versions.
- Create a new draft version. You can skip this step if you already have one.
- Under the Build tab, click Features and locate the app feature you'd like to deprecate.
- Click the three dots next to the app feature and select Deprecate feature.
- Check the box on the pop-up, and input a deprecation date.
- Click Save. Once the new version is promoted to live, users will see in-app banners that alert them to the deprecation.
- On the deprecation date, you must come back to your app and follow the steps to delete the app feature.
Un-deprecate an app feature
- Follow steps 1-4 above.
- Uncheck the box to deprecate the feature and click Save.
Delete an app feature
Deleting a feature immediately removes it once the version is promoted to live and is not recommended for most cases.
- Open your app in the Developer Center.
- Navigate to the Manage tab and click App versions.
- Create a new draft version. You can skip this step if you already have one.
- Under the Build tab, click Features and locate the app feature you'd like to delete.
- Click the three dots next to the app feature and select Delete feature.
Delete a draft version
To keep your app organized, you can delete draft versions. Only draft versions can be deleted.
- Under Manage in the left-side menu, open the App Versions tab.
- Locate the version you want to delete and click the three dots on the far right.
- Select Delete this version.
- Click Delete.
Supporting past/deprecated versions
New app versions are automatically pushed to users; however, some changes (e.g., permissions and scope changes) require manual approval. As a result, accounts may be using your app with various scopes and permissions. Your app’s backend must support the logic of older versions.
If your app utilized our versioning mechanism prior to January 2024, you must support the logic of your old major versions. This could mean having endpoints to support old integration recipes or fallback logic in your app’s code if a particular setting or field doesn’t exist. Generally speaking, you should build your backend to support all previous app versions.
When a live version is replaced, the original version becomes deprecated. Developers are required to continue supporting deprecated versions to ensure users who haven’t upgraded yet still have access to required features. Deprecated versions remain functional, but they are not recommended for new users and will no longer receive updates.
Over time, you can encourage users to move to the latest version, but support for deprecated versions must be maintained until all users have migrated. If you decide to fully deprecate an old version, you can send the user notifications or display a screen prompting them to reinstall the app's newest version.
Updated 6 months ago