Workspace templates
Package your custom apps with boards to create a full fledged solution that just works out of the box! Using workspace templates, you can bundle everything a user might need from your app in one package.
Workspace templates are a great way to bundle everything a user might need together with predefined boards, columns, board views, item views, integrations, automations, etc. They provide a complete solution out of the box for end users, making them more than just an app feature.

For example, say you created board templates, Kanban views, and calendar views to manage a development project. Using workspace templates, you can share the boards and views so users can access them on their accounts with just one click.
In this guide, we’ll walk through the steps to create a simple workspace template that includes a workspace we’ve already built out with some boards and automations.
Workspace templates are useful for marketplace apps, but you must have another app feature in addition to the template. Apps with just a workspace template app feature will not be approved.
Important limits
Before we start building, it's important to note the following workspace template limits:
- 50 boards, dashboards, workflows, and docs in each template
- 10K items across all boards
Create a workspace template
Step 1: Add a workspace template
Complete the following steps to add a workspace template to your monday app:
- Click your profile picture in the top right corner.
- Select Developers. This will open the Developer Center in another tab.
- Select an existing app or create a new one.
- Navigate to the Features tab on the left-side menu.
- Click Create new feature.
- Type Workspace template in the search bar or scroll until you find the feature card.
- Select the Workspace template feature and click Create.
AI columns are supported in solution templates created through the Developer Center (Workspace Template app features).
Step 2: Edit your feature details
After creating your workspace template app feature, you can edit the following feature details:
- Name: The name that users see in the template store
- Description: A description of the workspace template that will appear to users in the template store
- Short card description: A brief description of the workspace template that will appear in the card view under the thumbnail image
- Categories: The category your template appears under in the template store
- Subtitle: The template's subtitle that will be displayed with the Useful for section in the template store
- Useful for: What the template is useful for - will be shown on the template store
- Date Anchor: Adjusts the date columns on your template depending on when it is added by the user (see below)
- Slide panel default width (in px): Changes the default item slide panel width for all boards
- Images: Upload images that will be displayed in the template store
- Store thumbnail link: Add a thumbnail image that will be displayed in the template store
- Workspace template video link: Add a video that appears in the template store and demonstrates what users should expect from the template
- Locale release: The languages that your workspace template will be translated to
The Date Anchor
When set, the date will be used to sync any date column values in the template to the time the template was created.
Let's say you built your template on July 1st, and all of the dates are set around that time. When you set the date anchor to July 1st, every date on the board relative to July 1st will be moved to the date the user adds the template to their account.
For example: if a user adds your template on September 15th, the date anchor would change to:
- July 1st -> September 15th
- July 2nd -> September 16th
- July 3rd -> September 17th
The idea is for the data on the template to be updated and relevant to the user, regardless of whether you built the template or the user added it themselves.
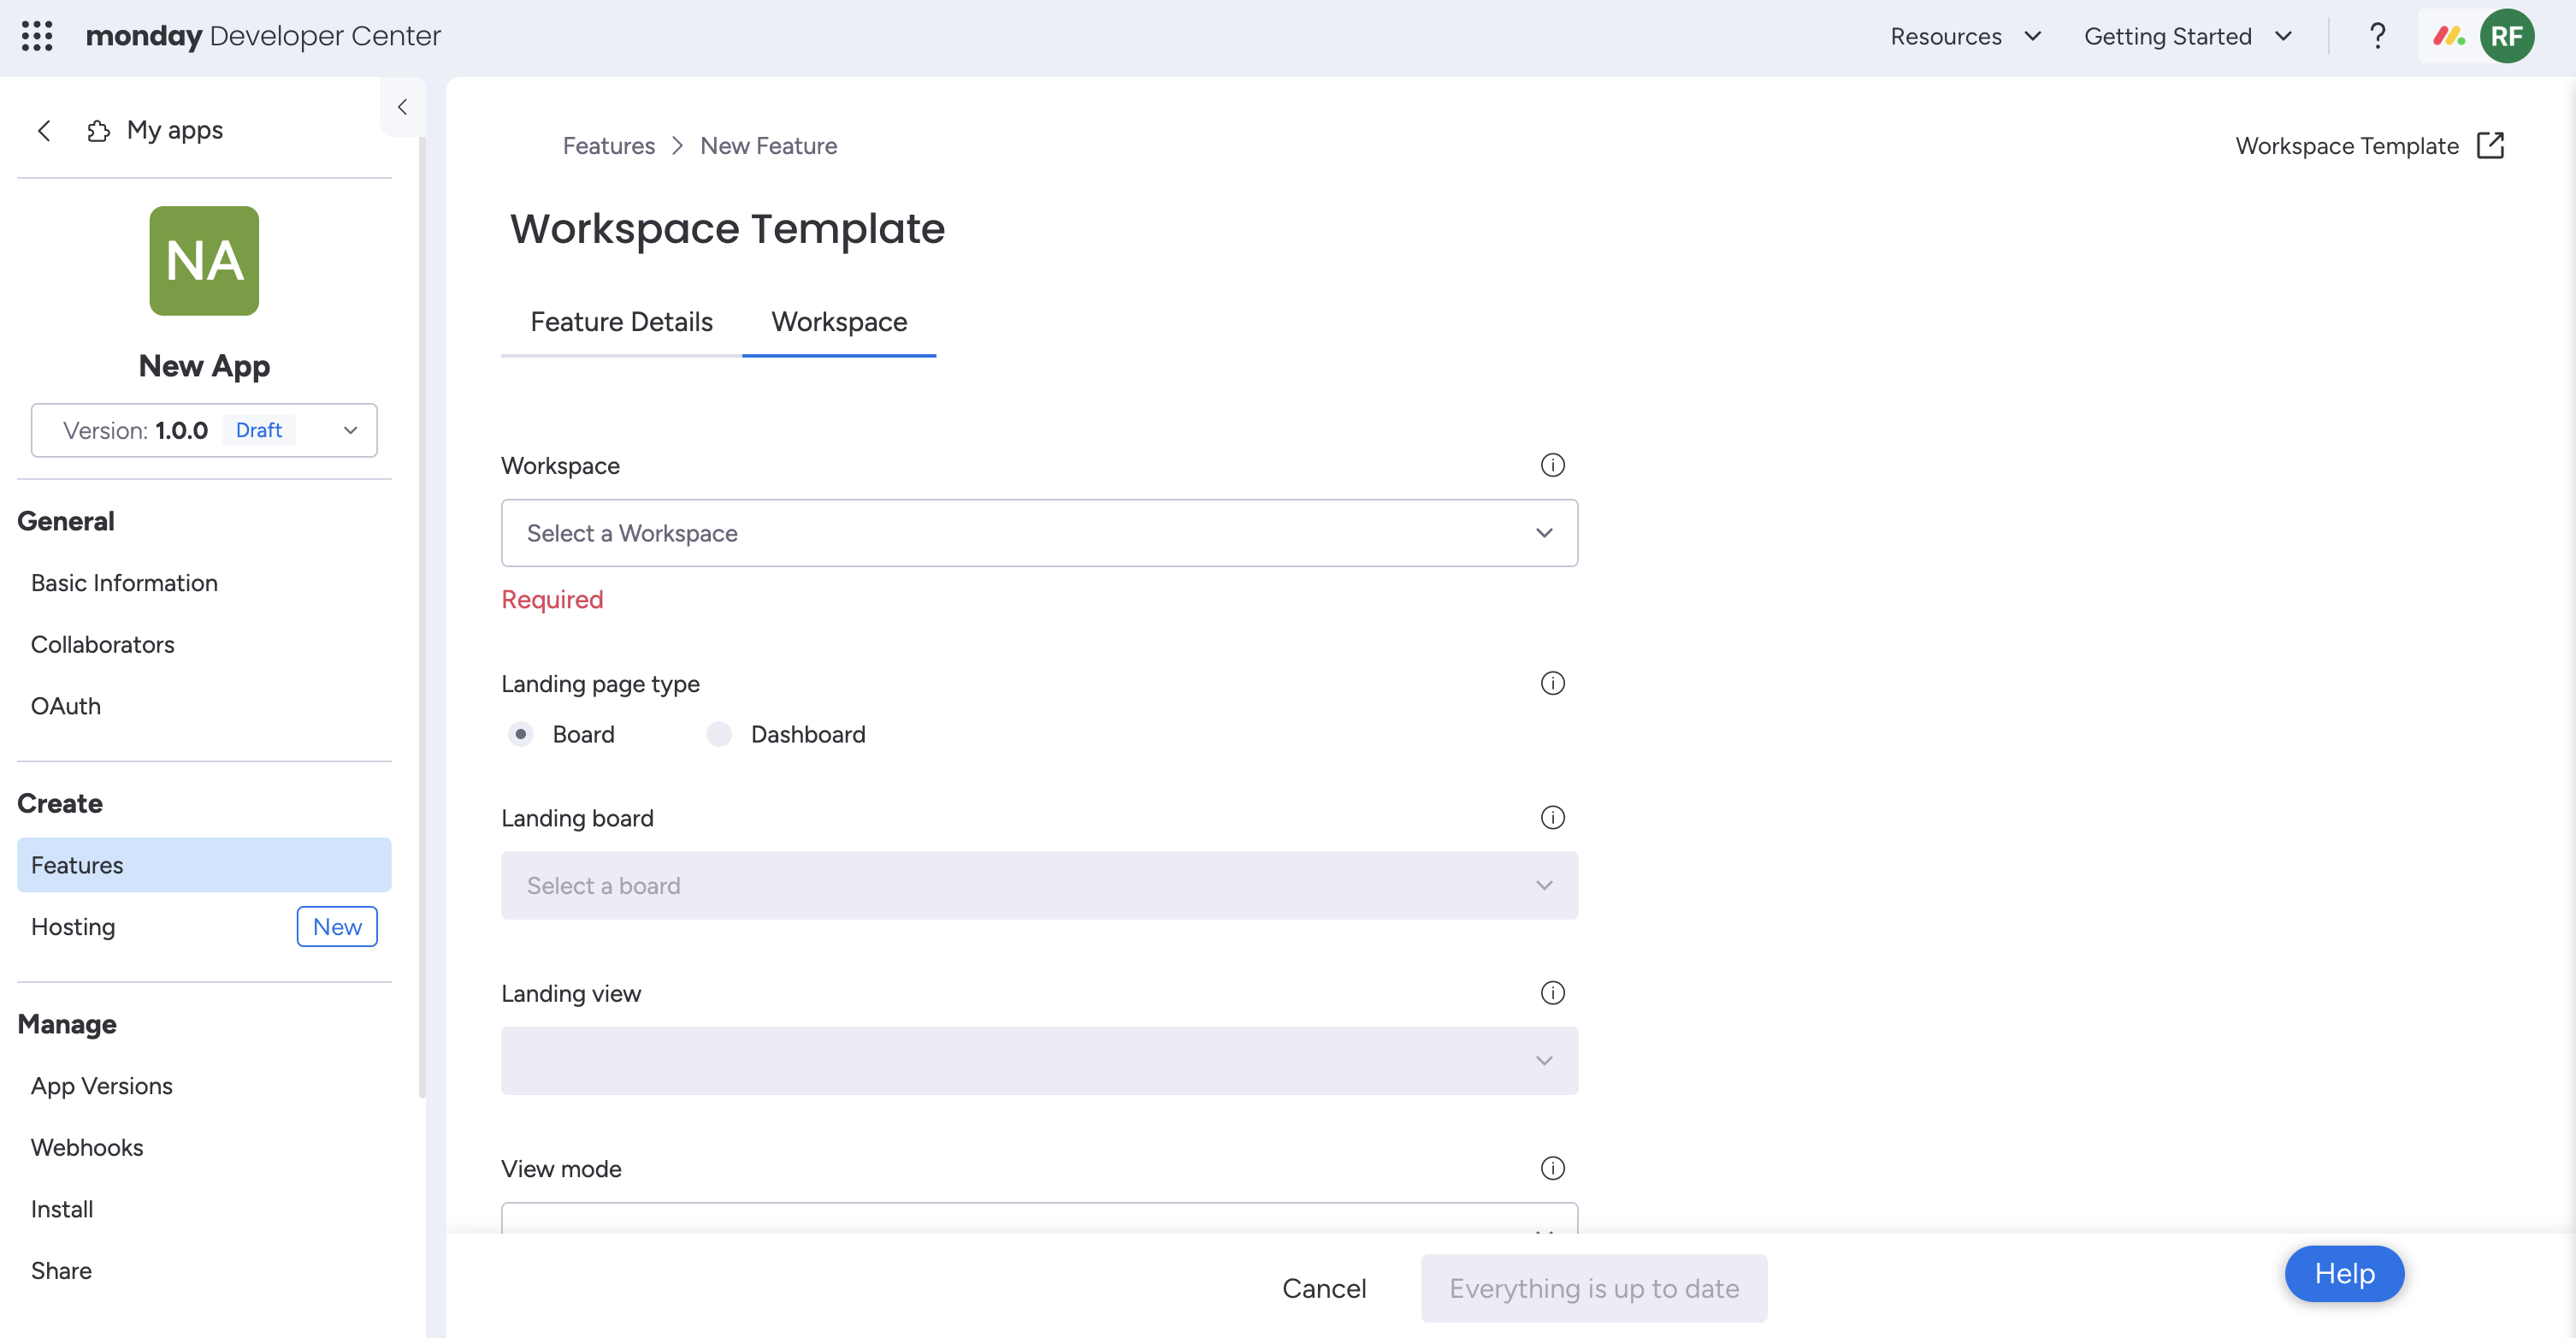
Step 3: Select your source workspace
Now, you can choose the landing page, landing view, and view mode and select which workspace you will share with your users. We recommend creating a separate workspace for all the boards you upload.
Please note that you must be the owner of a workspace to turn it into a template.
Step 4: Verify your settings
Some workspace and board settings and permissions don't automatically transfer when users install a template. It is important to verify that your template and assets within have the desired settings and permissions before publishing them.
Step 5: And you're done!
After completing all the steps, your template is ready to go once it is published and goes live!
Duplicating workspace templates
Users can find your template in the category you selected in the Feature Details and add it to their account, just like any pre-built monday.com template. When they select your workspace template, all the public content in the source workspace will be copied to their account and bundled in a folder (private and shareable boards will not be included!)
The following list describes all of the platform components that are included when users duplicate a workspace template*:
| Type | Included components |
|---|---|
| Boards |
|
| Dashboards |
|
| Documents |
|
*We still encourage users to verify all of the components after duplicating the template.
Updated 5 months ago